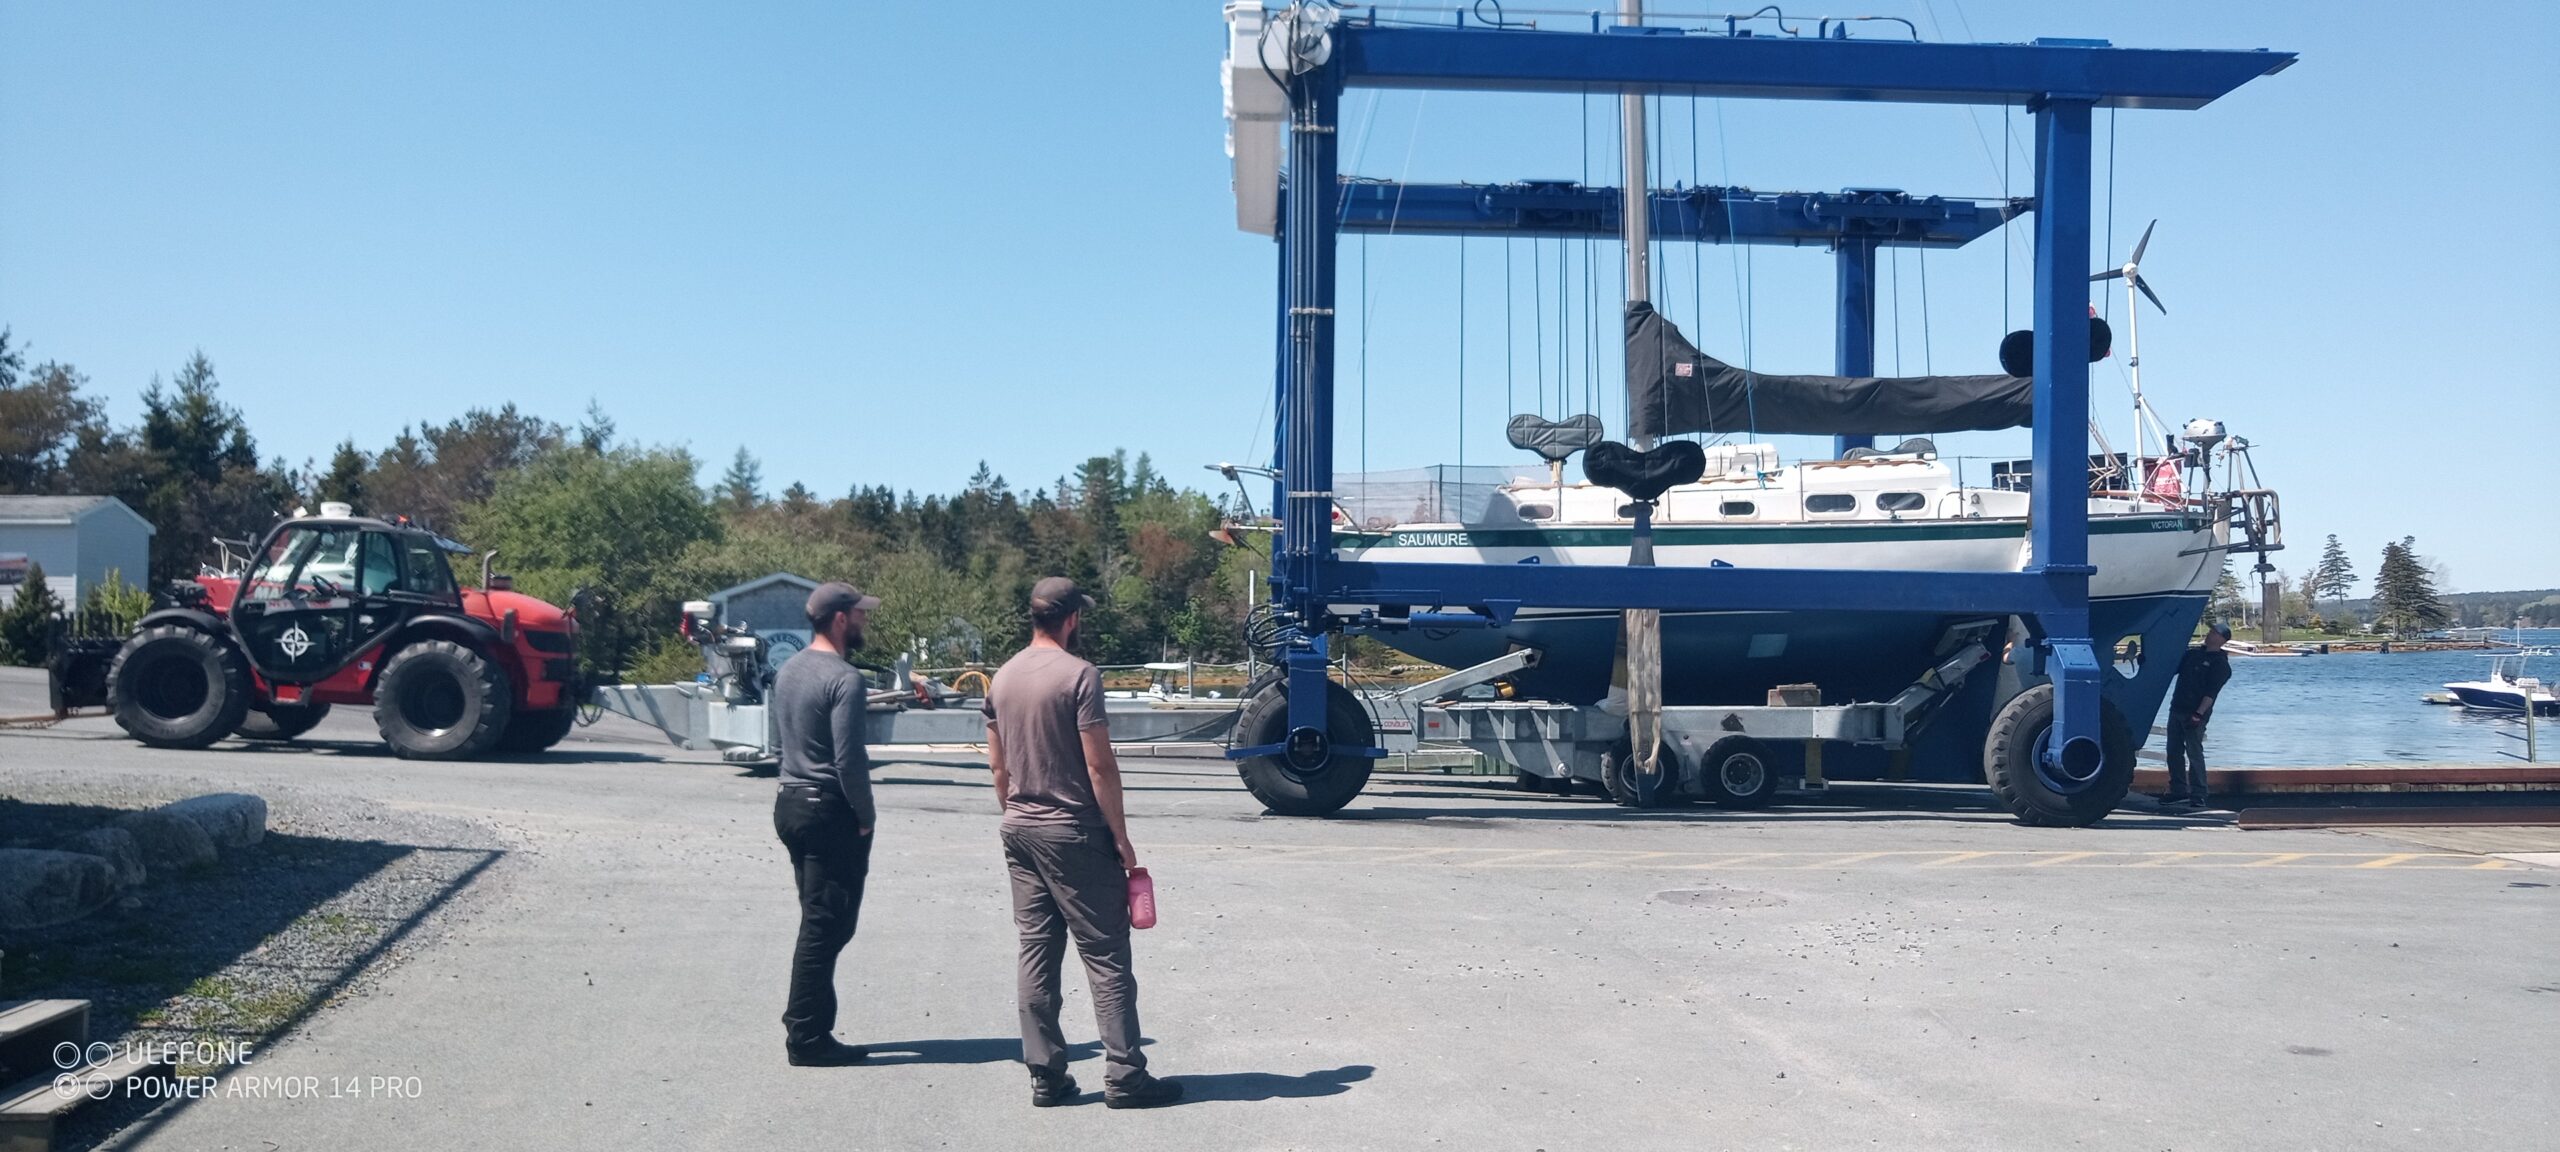
Saumure had survived the winter storms quite well. We had done a fair amount of work on the boat when we hauled it out last summer. There was still quite a bit to do but we had two whole weeks to do it all which felt quite manageable.
We had to have extensive repairs done to both of the head sails. They had suffered a lot of wear and had large holes in places. Leitch and McBride sail makers, where Callum used to work, did a great job of patching them up for us.

Callum and a fresh coat of bottom paint

Callum tuning up the engine
We fixed the primary inboard engine and gave it a complete tune up, replacing belts, fuel filters and changing the oil and filter. We also upgraded the fuel lines.
The heat exchanger on the engine, the one that sea water runs through to cool the motor, was in desperate need of repair. It was so corroded that I couldn’t even get off the end caps to clean the tubes. I ended up soaking the whole exchanger in a mixture of automatic transmission fluid, kerosene and acetone. After a couple of days in this solution I was able to pry off the end caps and ream out the tubes. The heat exchange tubes were mostly clogged solid with hard packed sediment. It was a wonder that it worked at all! Part of the aluminum on the body had corroded away at the cap making a proper seal around the end cap impossible and dripping sea water into the engine bay. I ended up rebuilding it all with some JB Weld metal epoxy. I had looked at buying a new heat exchanger but they were almost C$2000!
We also rebuilt the dinghy engine. The carburettor was totally gummed up so we had to strip it down and clean the whole thing.
I also built a separate external heat exchanger to get supplemental heat from the engine. This was an idea I came up with since we’ll be doing a lot of motoring in the arctic. We took a heater core out of a car and built a stainless steel box around it. The hot engine coolant is piped up to the heater and a bilge blower motor provides the airflow through the heater core and forces the hot air through some dryer pipe into the cabin.. It’s yet to be seen how successful this will be. When we tested it out the warm air coming out was around 40C, which is promising. It’ll be good to have two heat sources as well as this heat exchanger will hopefully reduce the amount of time we have to use the oil drip heater, saving us precious fuel.

Installing our drip oil heater
We installed a diesel drip heater. I had found an old broken diesel drip heater cheap in Nanaimo. I had to strip it all down, clean it and rebuild the fuel metering valve. I also had to build an internal baffle to get it burning more cleanly and efficiently. It’s our primary heat source up north and should really makes the difference between cold wet misery and a comfortable passage .

The oil drip heater up and going. It gets really nice and toasty in the cabin. It will be really good for drying out all our clothing, and ourselves!

Our new (old) windlass in place with the old one beside it.
Our old windlass was too small and it was a real struggle to get the anchor up. In deeper anchorages we would have to take shifts cranking the windlass around.
So I got an old broken Moyle windlass for $50 and fixed it up. It turned out that the chain drive inside had completely rusted out. Fortunately I found that one of our old bicycle chains fit the cogs perfectly! It was a bit of a challenge getting it all up and working as there didn’t seem to be any online manuals for them so I had to figure out how the gears and chains worked. The old chain had partially disintegrated into a pile of rusted metal. Fortunately the rest of the windlass was all stainless.

Callum ready to spray the propeller with propkote
We cleaned the propeller and added a fresh coat of prop paint to it.
When we arrived in Nova Scotia last summer, there was barely a trace of the bottom paint that we had put on in Sydney before leaving 2 years before. We put on one coat last summer and another two this spring.

The newly packed stuffing box
We repacked the stuffing box. The stuffing box provides the seal around the propeller shaft when it passes through the hull. Our stuffing box had been leaking badly since Australia. So badly that we had to pump the bilge every 30 minutes and ended up burning out our bilge pump in the middle of the Indian ocean. It had worn so badly that tightening it down made little difference. It is definitely one of those jobs that are much easier to do when the boat is hauled out and on land!
We also replaced prop shaft coupler which connects the two parts of the drive shaft together.
In Fiji our propeller tangled in a floating rope. This damaged the coupling to the extent that the prop shaft actually fell out coming into new Zealand. Fortunately our rudder is right behind the propeller so the shaft jammed into the rudder which prevented it from completely falling out!
This happened again coming into a busy port in Namibia, leading to an embarrassing situation where we had to drop anchor in the middle of the channel with port control watching the whole thing from the control tower. we were able to slide the prop back into place and clamp it together again.
Our old coupler was a friction fit one so I replaced it with a much better clamping one. The only coupler I could find didn’t quite fit with the transmission so I had to machine it down on my metal lathe. Ideally I would have replaced the prop shaft too, but the budget just wouldn’t allow for that.

Aluminum deck holder for Jerry cans
We built two aluminum deck holders for Jerry cans. We had originally had the Jerry cans lashed to the rails but that never worked very well.
We replaced three of our water Jerry cans with ones carrying diesel. We want to carry as much diesel as possible as we will likely be doing a lot of motoring through the Arctic Ocean. Water won’t be quite as crucial on this leg of the circumnavigation as we will mostly be coastal cruising and can access freshwater sources more easily than we could on the long ocean crossings.